


Layens Swarm Trap – Free Plans
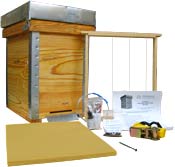
LAYENS HIVES & FRAMES AVAILABLE FROM OUR STORE >>
Hives include all frames, fully assembled & ready to go
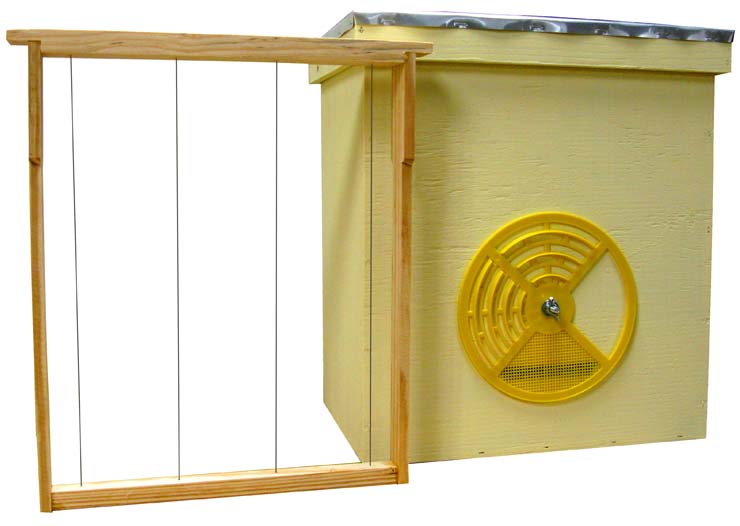
The plans on this page are for a Layens swarm trap accepting six Layens frames. We also have plans for swarm traps accepting Langstroth frames. You have a choice! :)
Material list
- 15/32” plywood, construction (sheathing) grade, untreated — 4’ x 8’ sheet enough for ten traps.
- 3/8” plywood, construction (sheathing) grade, untreated — 4’ x 8’ sheet enough for six traps.
- 2” x 4” x 8’, untreated (actual board size 1-1/2” x 3-1/2” x 8’) — enough for ten traps.
- 12” aluminum flashing — 18” per trap.
- Wood glue (e.g., Titebond III), less than 1 oz needed.
- 1” staples or 1-1/4” nails (50 per trap).
- 3/8” T50 staples.
- Exterior acrylic primer/sealer (1 quart per 5 swarm traps) and light-colored exterior acrylic paint (1 quart per 5 swarm traps); a wide brush.
Tools list
You can complete this project using a variety of tools. This is what I use:
- Table saw.
- Sliding miter saw (alternative: circular saw or hand saw with a guide).
- Router with 1/2” straight bit.
- Air compressor with narrow crown and T50 staple guns (alternative: hammer & nails, manual stapler).
- Square, tape measure, utility knife, metal shears.
Building instructions
Step 1. Cut the 15/32” plywood as shown. You’ll end up with twenty pieces 16-7/8” x 9-1/8” (end walls) and ten pieces 13-15/16” x 9-1/8” (bottoms).
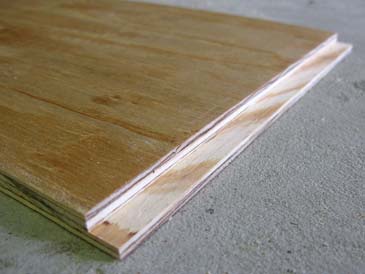
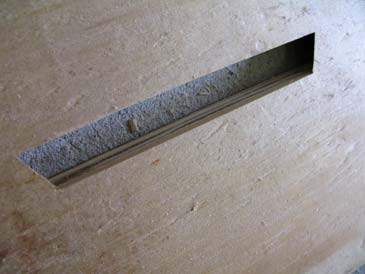
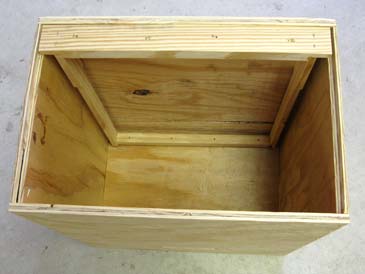
Step 2. Cut a rabbet 1/4” x 7/16” along one 9-1/8” edge of each end wall cut in Step 1. These are the frame rests.

Step 3. Cut the 3/8” plywood as shown. You’ll have twelve front/back walls 14-7/8” x 16-7/8” and six tops 15-13/16” x 10-13/16”.
Step 4. Cut a slot 1/2” tall by 4” long in the center of half of all the walls cut in Step 3, 4” from the lower edge. If you can, cut the slot so it slopes up inwards by some 15° — this will prevent rainwater from dripping in.

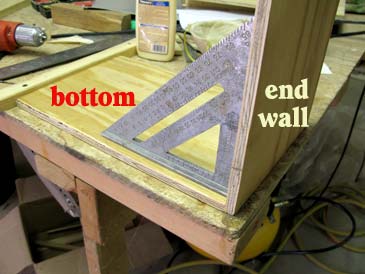
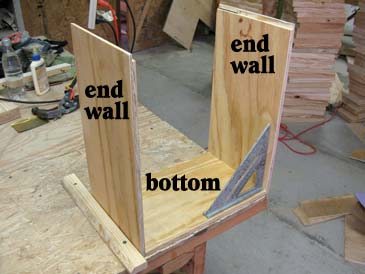
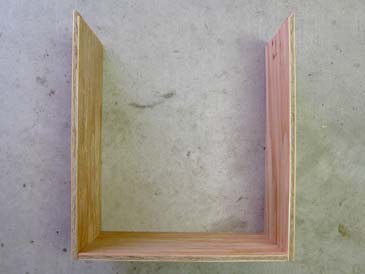
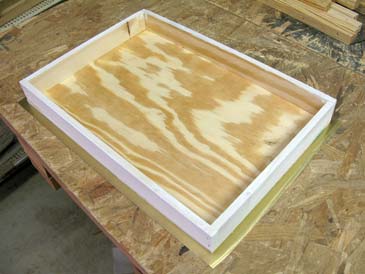
Step 5. Assemble the box. Put the bottom on a flat surface and attach one end wall with glue & staples (or nails), the frame rest facing inside. Attach the opposite wall (glue and staple), the frame rest facing inside. Attach the front wall to the assembly, then the back wall. The box is ready.


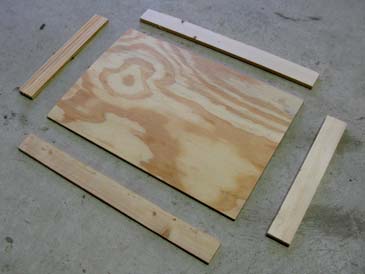
Step 6. Cut a piece of “two-by-four” 15-13/16” long and rip it into 3/8” planks. You will have planks 3/8” x 1-1/2” x 15-13/16” (you’ll need two per swarm trap). Cut another piece of “two-by-four” 10-1/16” long and rip it into 3/8” planks. You will have planks 3/8” x 1-1/2” x 10-1/16” (you’ll need two per swarm trap).
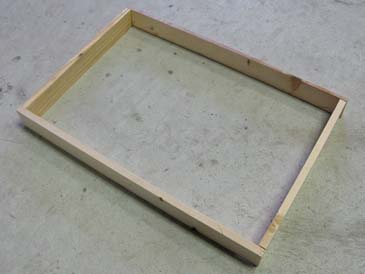
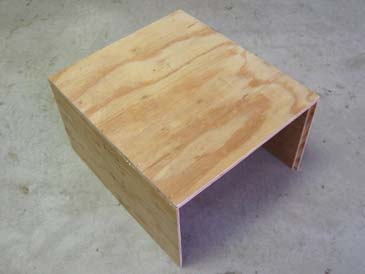
Step 7. Assemble the top. Position the short planks cut in Step 6 between the long planks and assemble them on glue & staples (or nails). Apply a bead of glue to this frame, cover with the plywood top (cut in Step 3) and attach with staples or nails.
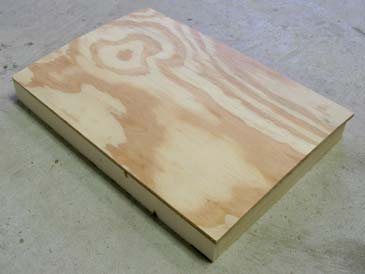
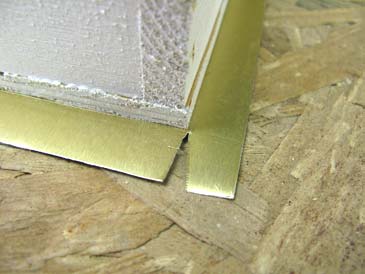
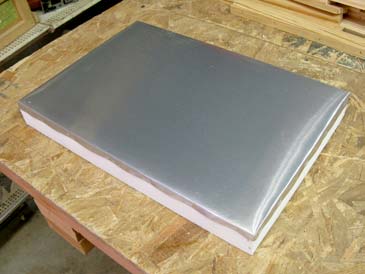
Step 8. Install flashing. Cut a 17-5/16” piece of 12”-wide flashing (in reality the nominal 12” flashing is usually a bit narrower, but it’s OK). Center the top on the flashing, lightly score the perimeter, notch the four corners, and attach with 3/8” staples as you fold the flashing around the top. Done!
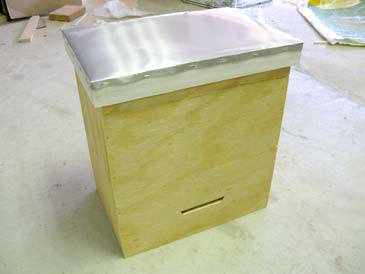
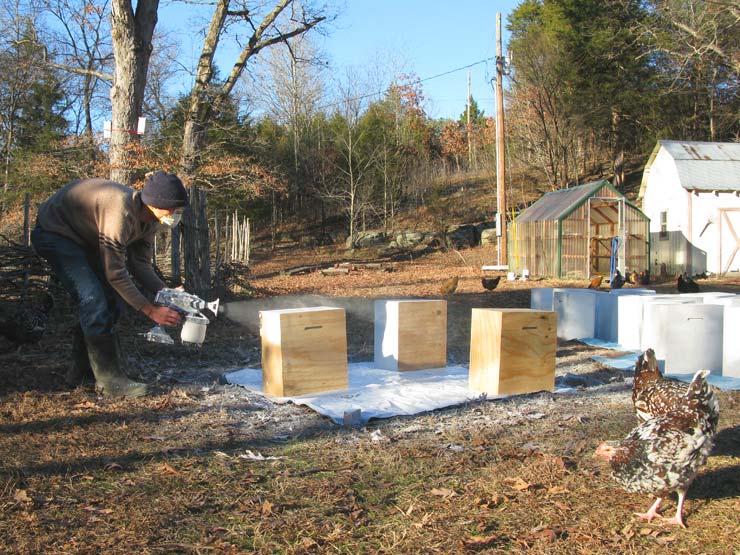
Step 9. Apply a coat of primer (to the outside only), let dry. Apply a coat of paint. Let dry. You are done!
Step 10. For best results use your swarm traps as described in our Swarm catching guide. Have fun!
LAYENS HIVES & FRAMES AVAILABLE FROM OUR STORE >>
Hives include all frames, fully assembled & ready to go
If you haven’t signed up for our email list yet, please join it below so we can notify you when detailed Layens hive management recommendations and more free plans become available. (Only 2-3 emails per year, and you can unsubscribe at any time.) We are working to bring you the bees... and the smile!
— Dr. Leo Sharashkin, Editor of “Keeping Bees With a Smile”