


Swarm Trap Lite - Free Plans
The best things in life are free, and bees are no exception. A good swarm trap is really all you need to get started in beekeeping. The first season I put ten swarm traps out, five swarms moved in! That is a 50% success rate, and others report up to 80% success with the swarm traps described in Fedor Lazutin’s Keeping Bees With a Smile. These cost under $15 in materials to build (compare that to $120 for a package of bees). Their large volume is attractive to the bees and gives them plenty of room to build, so you can check them only every 2-3 weeks.
The model below has a volume of 53 liters or 14 gallons (“my favorite size!”). It is sturdy yet lightweight at 14 lb (“my favorite weight!”). It takes six extra-deep frames or standard Langstroth frames. The front wall, back wall, and the bottom are made of construction-grade 19/32” untreated pine sheathing plywood. The end walls and the top are 1/4” sanded pine plywood, the top is then attached to a frame made of strips ripped from “two-by-fours”, 15/32” thick. The top is covered with 14” aluminum flashing.
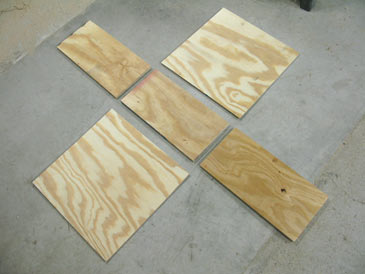
Cut a 4’ x 8’ sheet of 19/32” plywood as shown. You’ll end up with 15 front/back walls measuring 19-9/16” x 9-1/2” (enough for 7-1/2 swarm traps) and 10 bottoms 18-3/8” x 9-1/2”. I rip the plywood into five 9-1/2” strips using a circular saw with a guide, and cut them to dimensions using a sliding miter saw.

Cut a 4’ x 8’ sheet of 1/4” plywood as shown below. You’ll have 8 end walls measuring 19-9/16” x 19-9/16” (enough for 4 swarm traps) and 4 tops 20-5/8” x 11-1/16”. Two of the tops will consist of two halves, which is totally fine because the top will be covered with waterproof aluminum flashing.
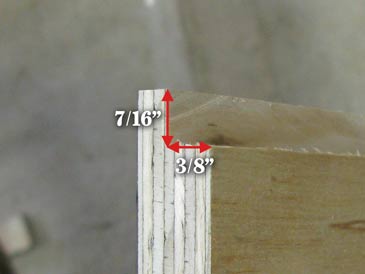
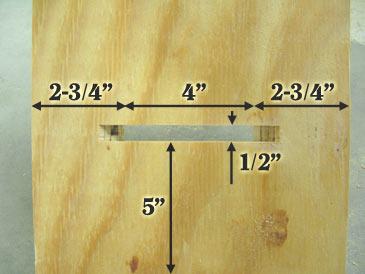
Cut frame rests (3/8” by 7/16” rabbets) along the top inner edge of front and back walls, and a horizontal entrance slit (1/2” high by 4” long) on the front wall. I use a table saw with a dado blade for both operations:
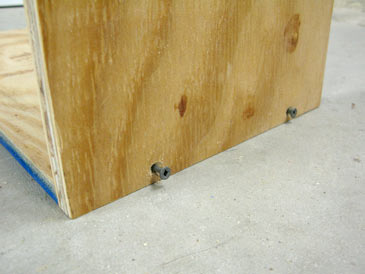
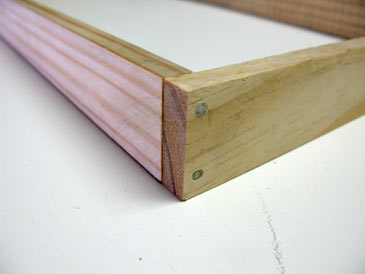
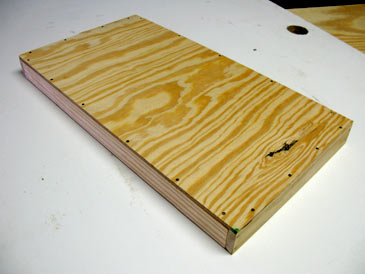
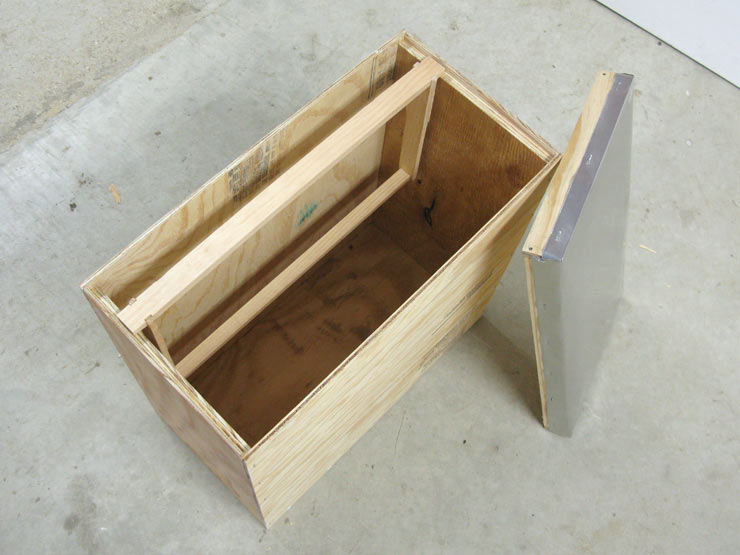
The box is ready to assemble. Attach the front wall and the back wall to the bottom, making sure the frame rests look inside. Pre-drill through the face of the wall into the bottom, apply wood glue, and assemble on 1-5/8” deck screws:
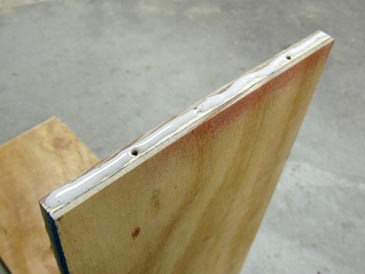
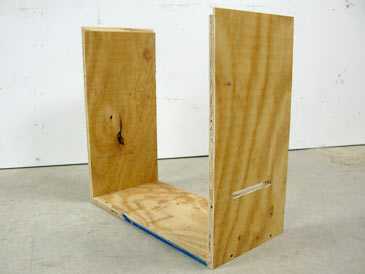
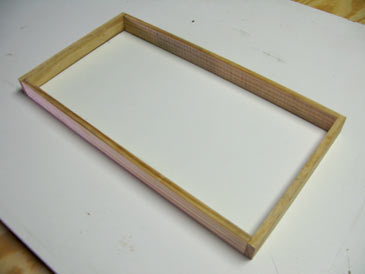
Put it on the side, apply wood glue, and nail the side wall using small thin nails (I use 3/4” nails or 1/2” staples). Flip over and attach the other end wall. The box is ready:

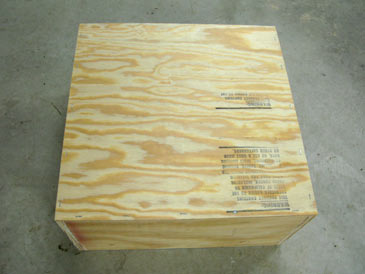

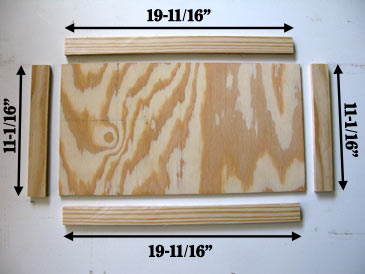
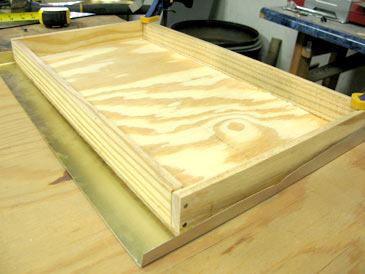
Now let’s make the top. Cut a piece of “two-by-four” 19-11/16” long; rip it into 15/32” bars. You’ll have six bars 19-11/16” x 1-1/2” x 15/32”. Cut another piece of “two-by-four” 11-1/16” long; rip it, and you’ll have six bars 11-1/16” x 1-1/2” x 15/32”. Connect two long bars and two short bars to form a frame (use glue and small nails). Nail though the short bars into the long bars. Apply glue on the frame and nail the plywood:
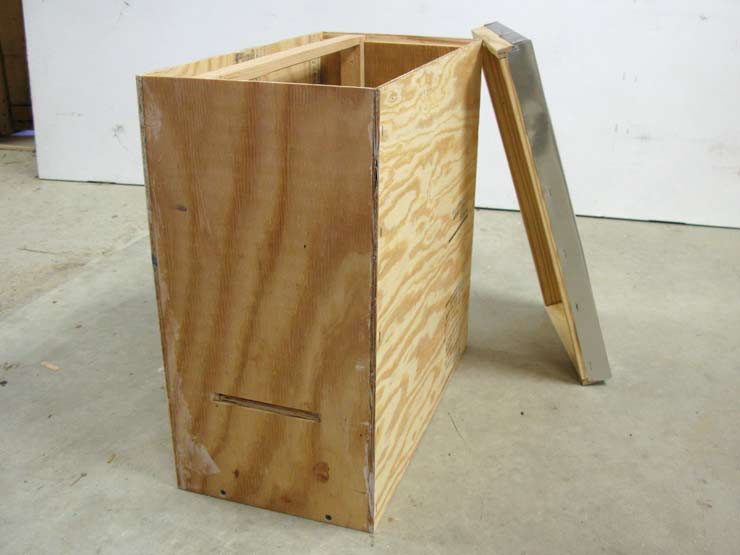
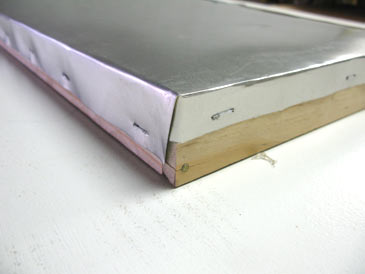
The only thing left is to install aluminum flashing. Cut a 22-5/8” piece of 14”-wide flashing. Clamp the top in the center, score the perimeter with a knife, then fold and staple to hold it in place. The top is ready.
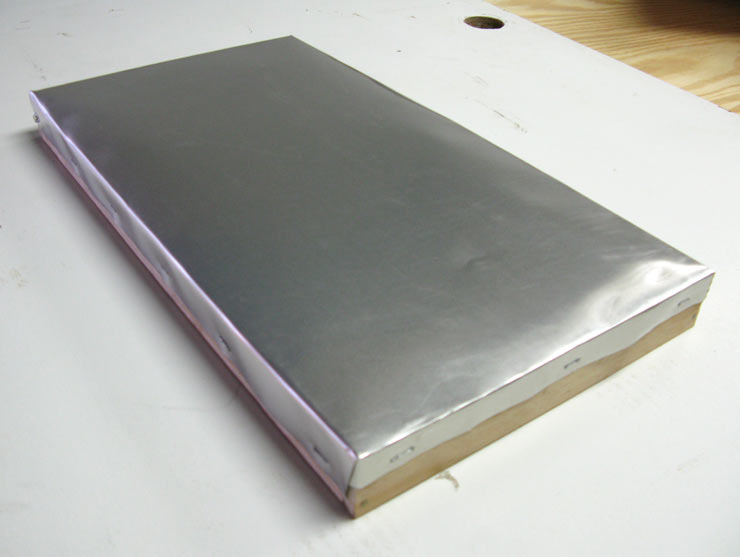
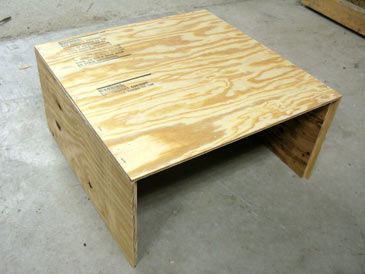
The swarm trap is ready to be painted and put to use.
Materials list
- 19/32” pine plywood, construction (sheathing) grade, untreated. One 4’ x 8’ sheet makes front & back walls for 7-1/2 traps, and enough bottoms for 10 traps.
- 1/4” sanded pine plywood. One 4’ x 8’ sheet makes end walls & tops for 4 traps.
- “Two-by-four”, untreated. One 8’ piece for 9 traps.
- 14” aluminum flashing. One 25’ roll covers 13 swarm trap tops.
- Wood glue (e.g., Titebond III), one 8-oz bottle is plenty.
- 1-5/8” deck screws, four per trap.
- Small thin nails, preferably 3/4” long; 40 per trap.
- Manual staple gun with 1/4” staples.
- Exterior acrylic primer (1 qt per dozen traps) and light-colored exterior acrylic paint (1 qt per two dozen traps); a wide brush.
Equipment used
You can complete this project using a variety of tools. This is what I use:
- Circular saw with a guide — to bust plywood.
- Sliding miter saw — to cut the ripped strips of 19/32” plywood and “two-by-fours” to size.
- Table saw with a dado blade — to cut frame rests (rabbets) and entrances.
- Hammer.
- Phillips screwdriver.
- Metal shears — to cut flashing (you can also cut with utility knife).
- Utility knife — to score flashing.
- Staple gun — to install flashing.
A few tips
- Building a dozen or so traps at a time makes efficient use of materials and speeds things up. Don’t need that many? Invite your friends and throw a Swarm Trap Building Party!
- Build and paint swarm traps as far in advance as possible so they don’t smell of freshly cut lumber and paint.
- Rub the inside of the walls with propolis, apply a few drops of lemongrass oil, and hang on trees in the spring.
- Large trees on the edge of the woods, in fence rows, or in yards work well.
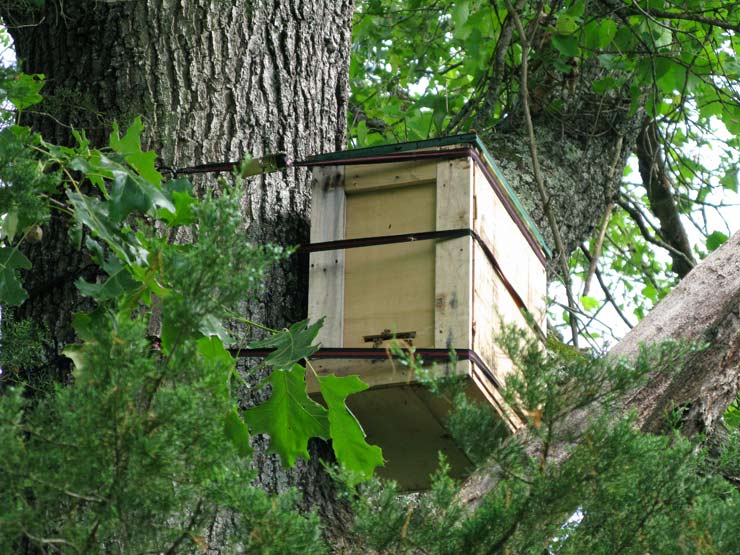
- Preferably hang some 12-15 feet off the ground. The trap must be highly visible (not hidden behind leaves and branches), yet well-shaded to prevent overheating.
- My favorite method of securing it to the tree is to position it on a limb and tie to the trunk using 15-foot light-duty ratchet straps.
- Be safe while scaling the trees!
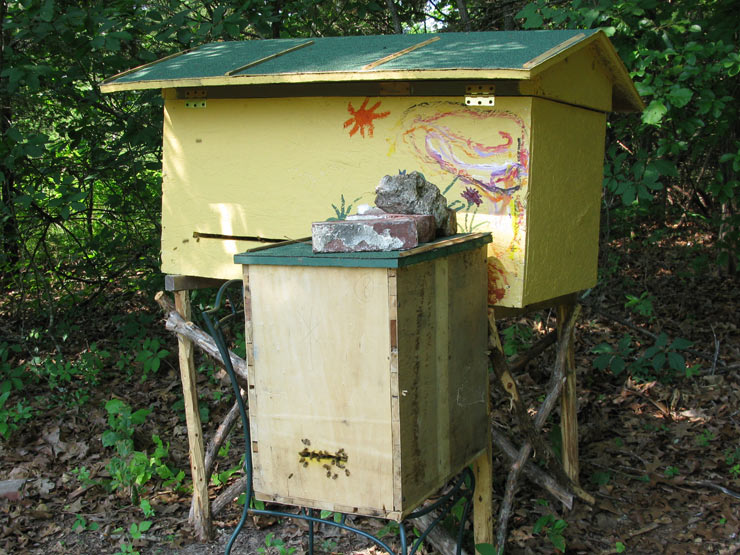
- Once the swarm moves in, take the swarm trap down in the evening (cover the entrance with wire mesh before doing so) and move to your apiary. If the swarm trap is located within 6 miles from your place, move it some 10 or more miles away and leave there for a week before bringing it home. (Otherwise the bees flying from it would be returning to the place where it hang, and get lost. See Fedor Lazutin’s Keeping Bees With a Smile for full details.)
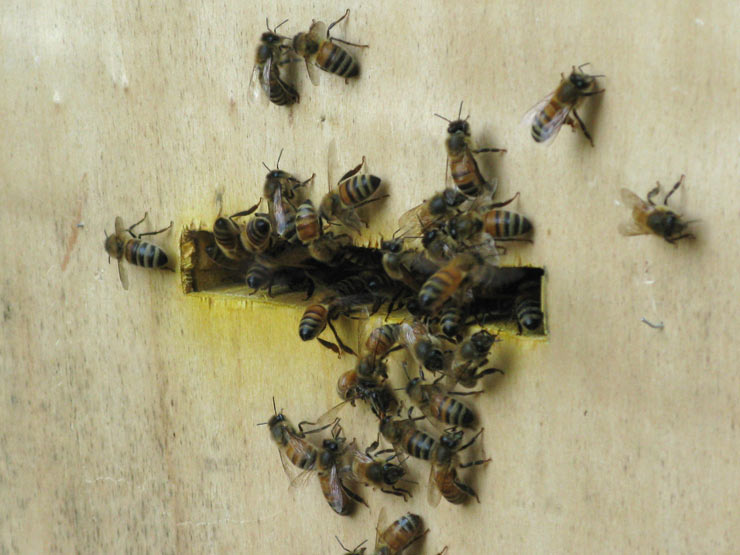
- Swarm traps are much fun, and they really work!
DETAILED SWARM TRAPPING GUIDE — SEE HERE
If you make use of these plans, I’d be very glad to hear about your experiences and see your photos. Have a wonderful beekeeping season!— Dr. Leo Sharashkin, Editor of “Keeping Bees With a Smile”
Please join our email list below for more free plans and important updates (no spam; only 2-3 emails per year, and you can unsubscribe at any time). We are working on bringing you the bees... and the smile!